Custom Alerts
Custom Alerts allow you to stay informed about critical API events without sifting through logs. This feature lets you configure specific triggers for different alert types, ensuring timely notifications for error spikes, performance issues, or unusual activities.
There are two types of custom alerts you can create:
- Spike alerts: Triggered by a sudden increase in requests.
- Saved Search alerts: Triggered by requests matching a set of pre-defined filters.
Setting Up Custom Alerts
1. Create a Saved Search (for Saved Search alerts)
To create an alert based on specific criteria, you first need to save a search query. If you want to create a Spike alert, you can skip to the next section.
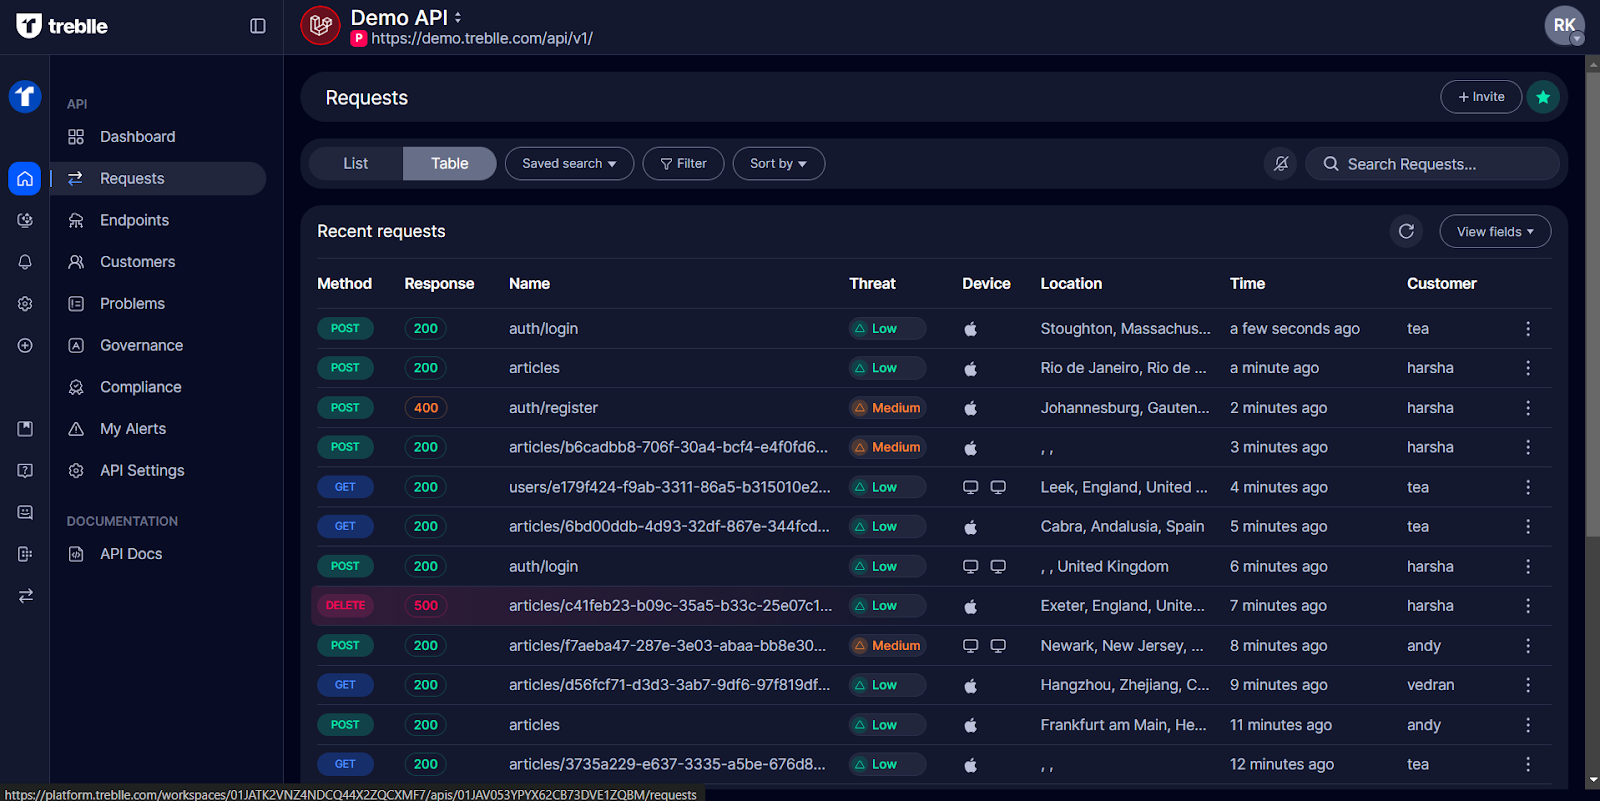
a. Navigate to the Requests tab:
- Go to your API navigation bar and select the Requests tab.
b. Apply filters:
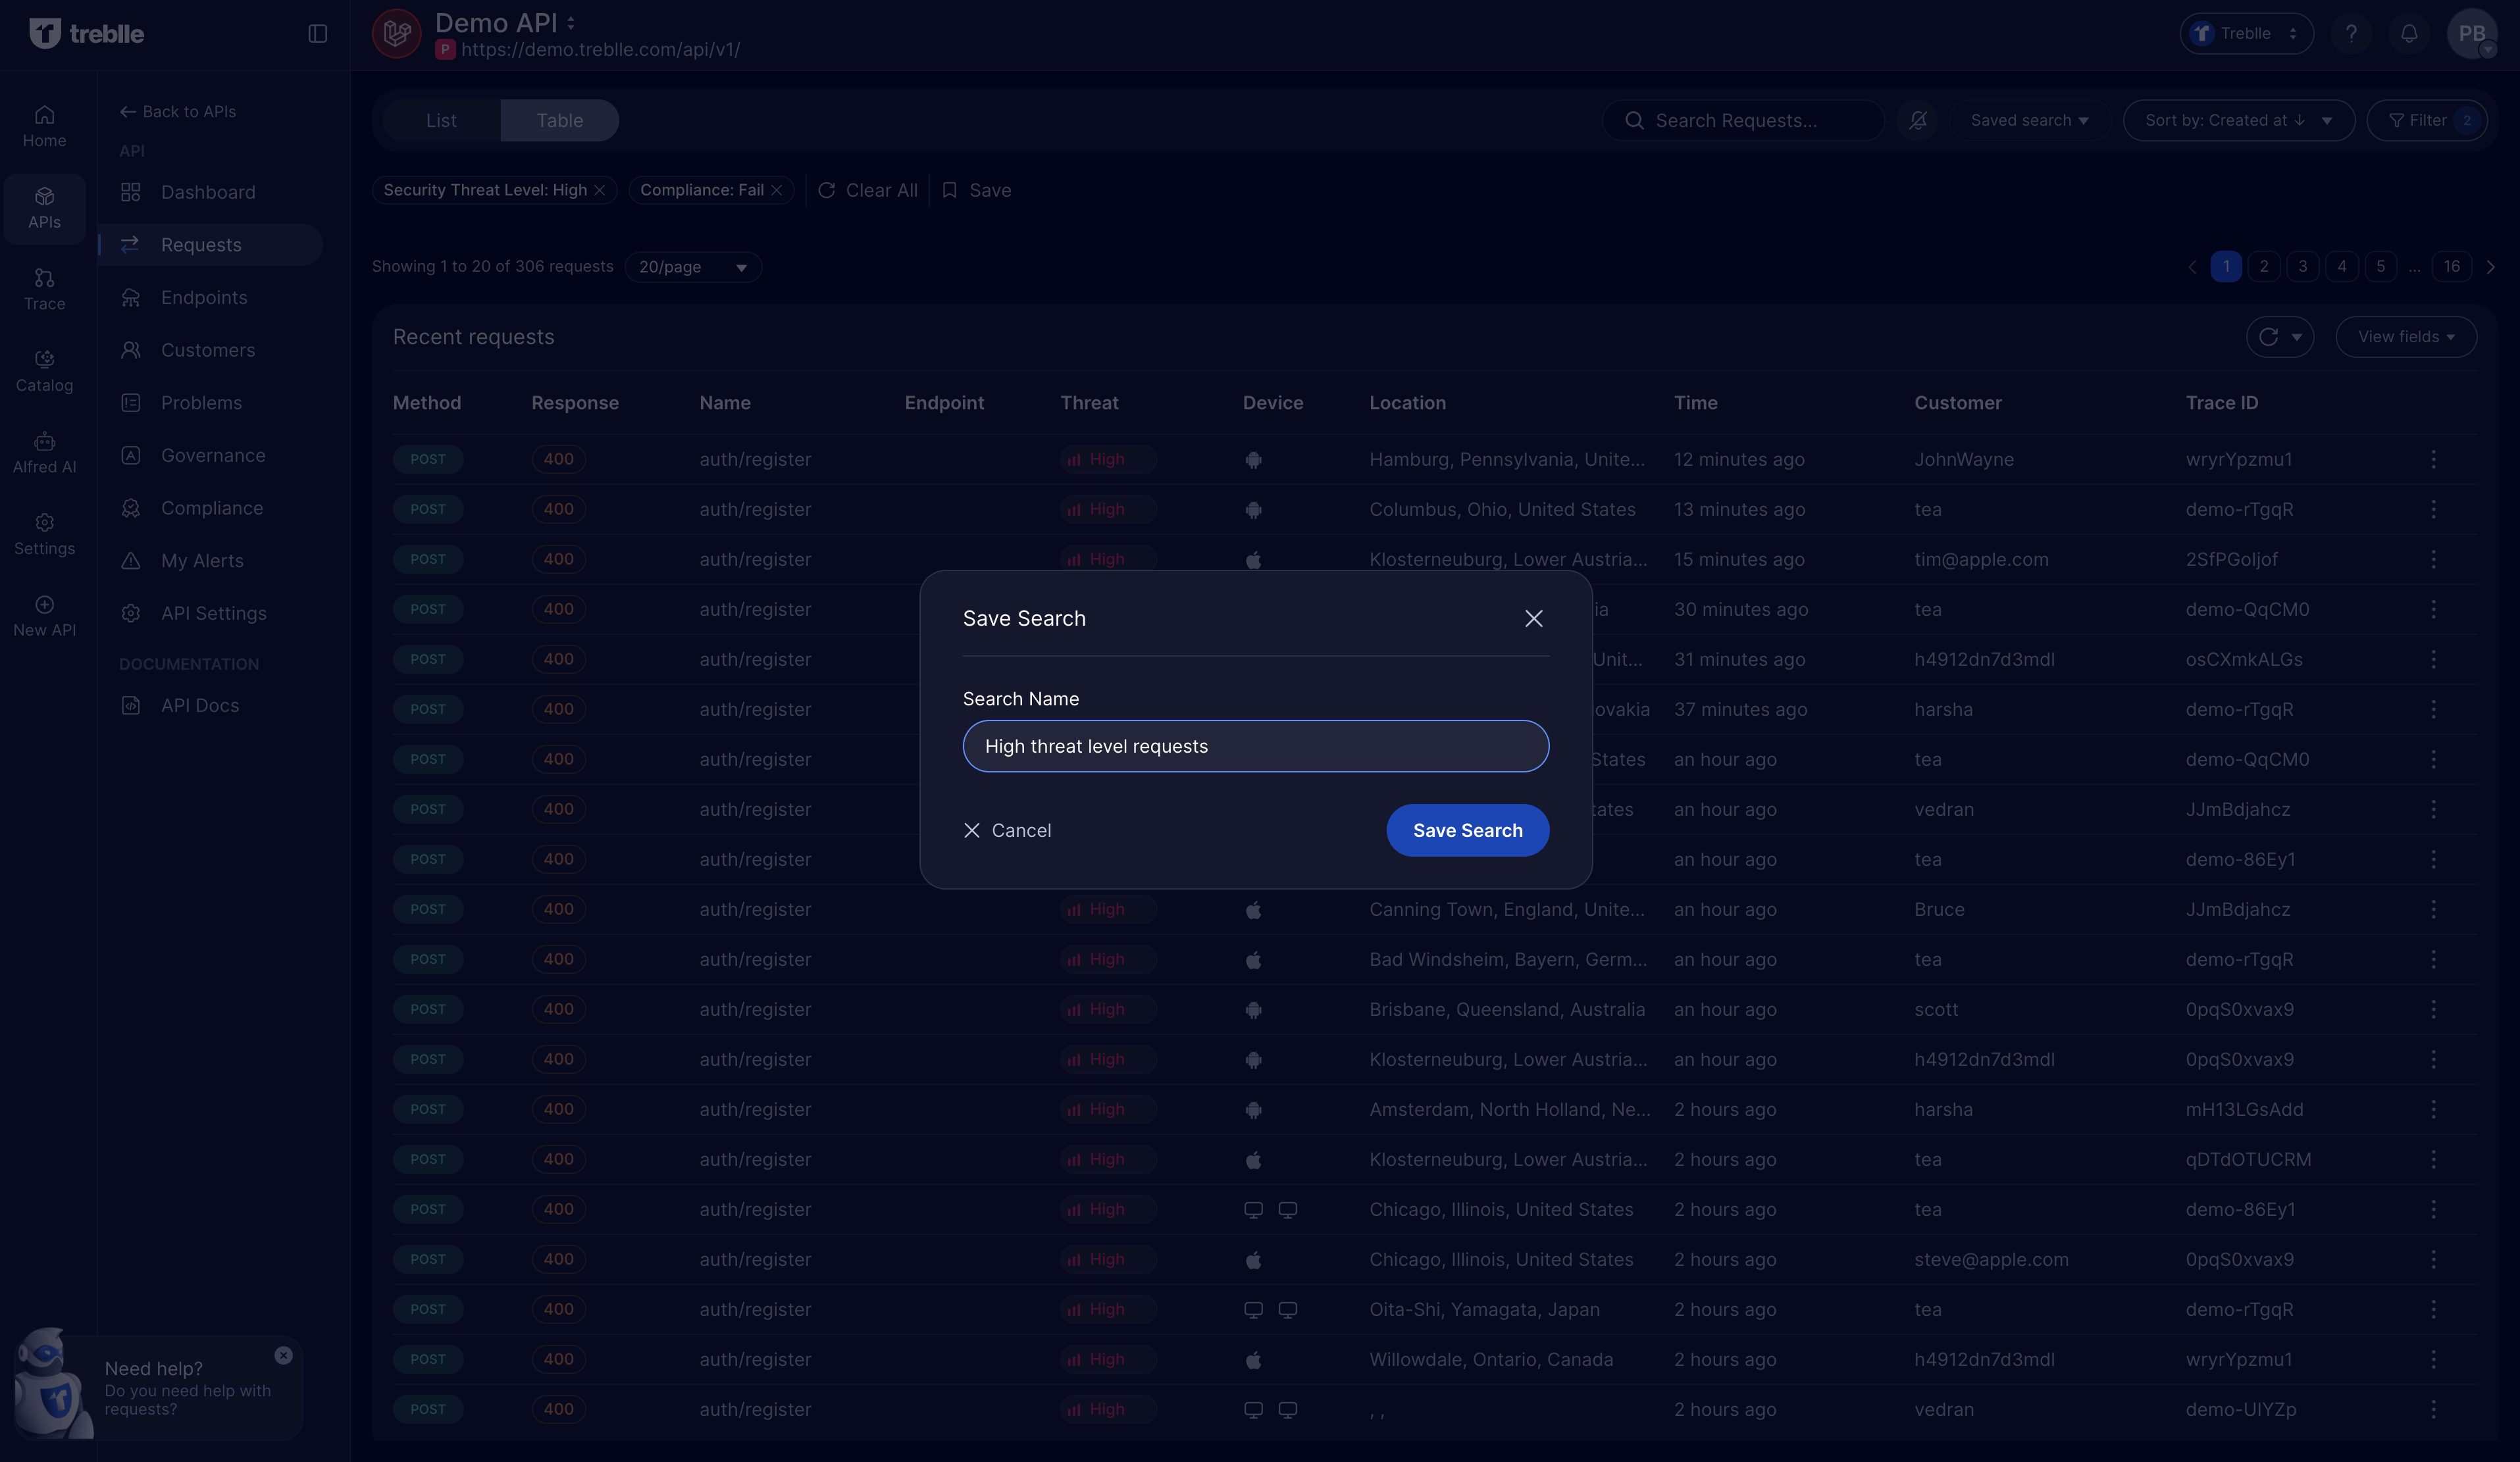
- Use the filter panel to define the conditions you want to monitor. For example, to monitor for high-risk activities, you can filter for requests with a
Security Threat LevelofHigh.

c. Save the search:
- Click the Save search button.
- Provide a meaningful name, such as
High threat level requests, and click Save Search.
2. Configure a New Alert
Once you have a saved search (if needed), you can configure the alert itself.
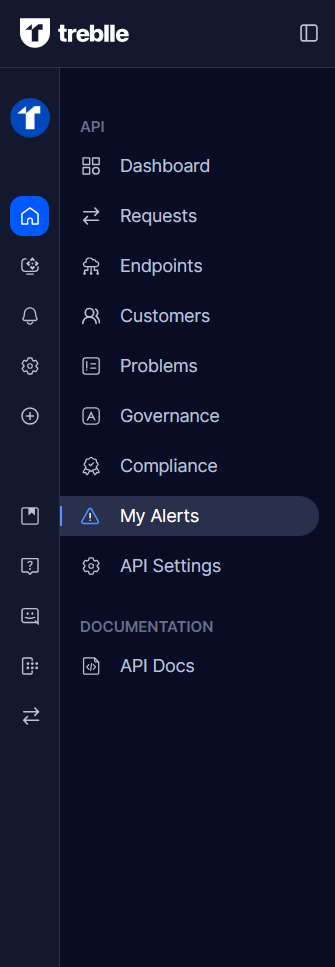
a. Go to My Alerts:
- Open the My Alerts section from the navigation menu.
b. Create a new alert:
- Click New Alert to open the creation dialog.
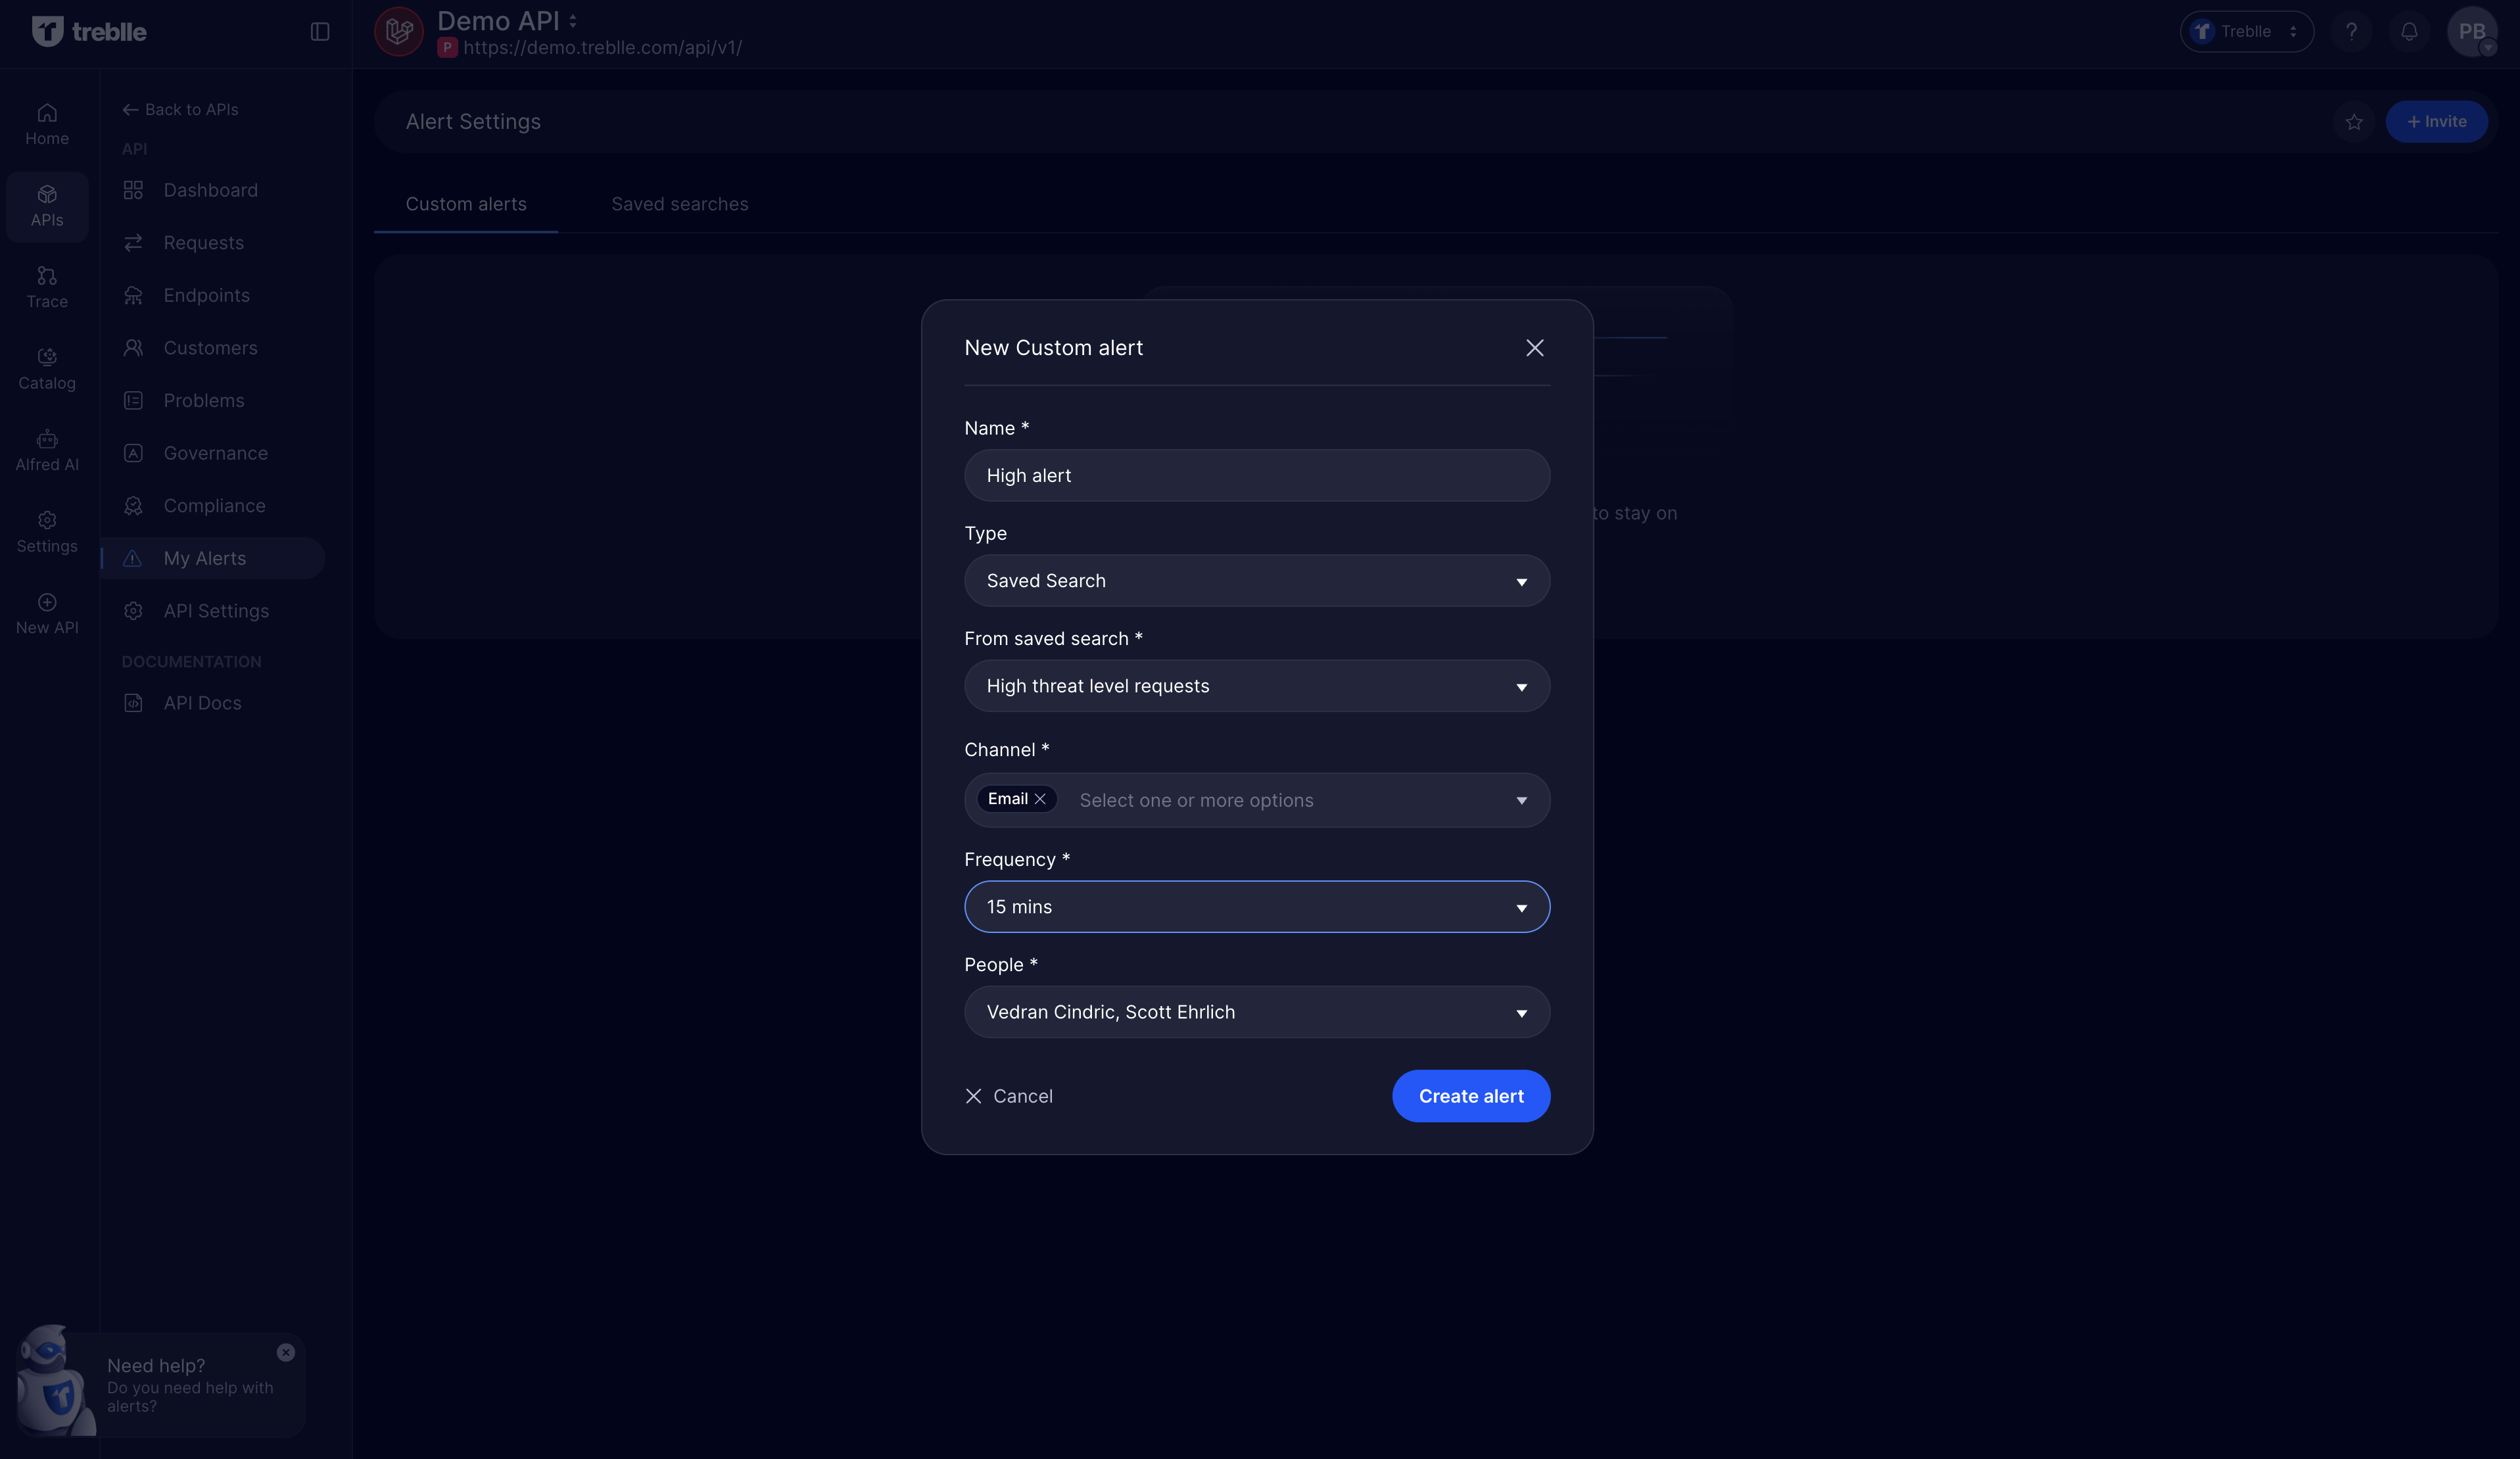
- Fill in the alert details based on the type of alert you want to create.
c. Configure a Spike Alert
A Spike alert notifies you when there is a sudden and significant increase in requests to your API, which could indicate a DDOS attack or a malfunctioning client.
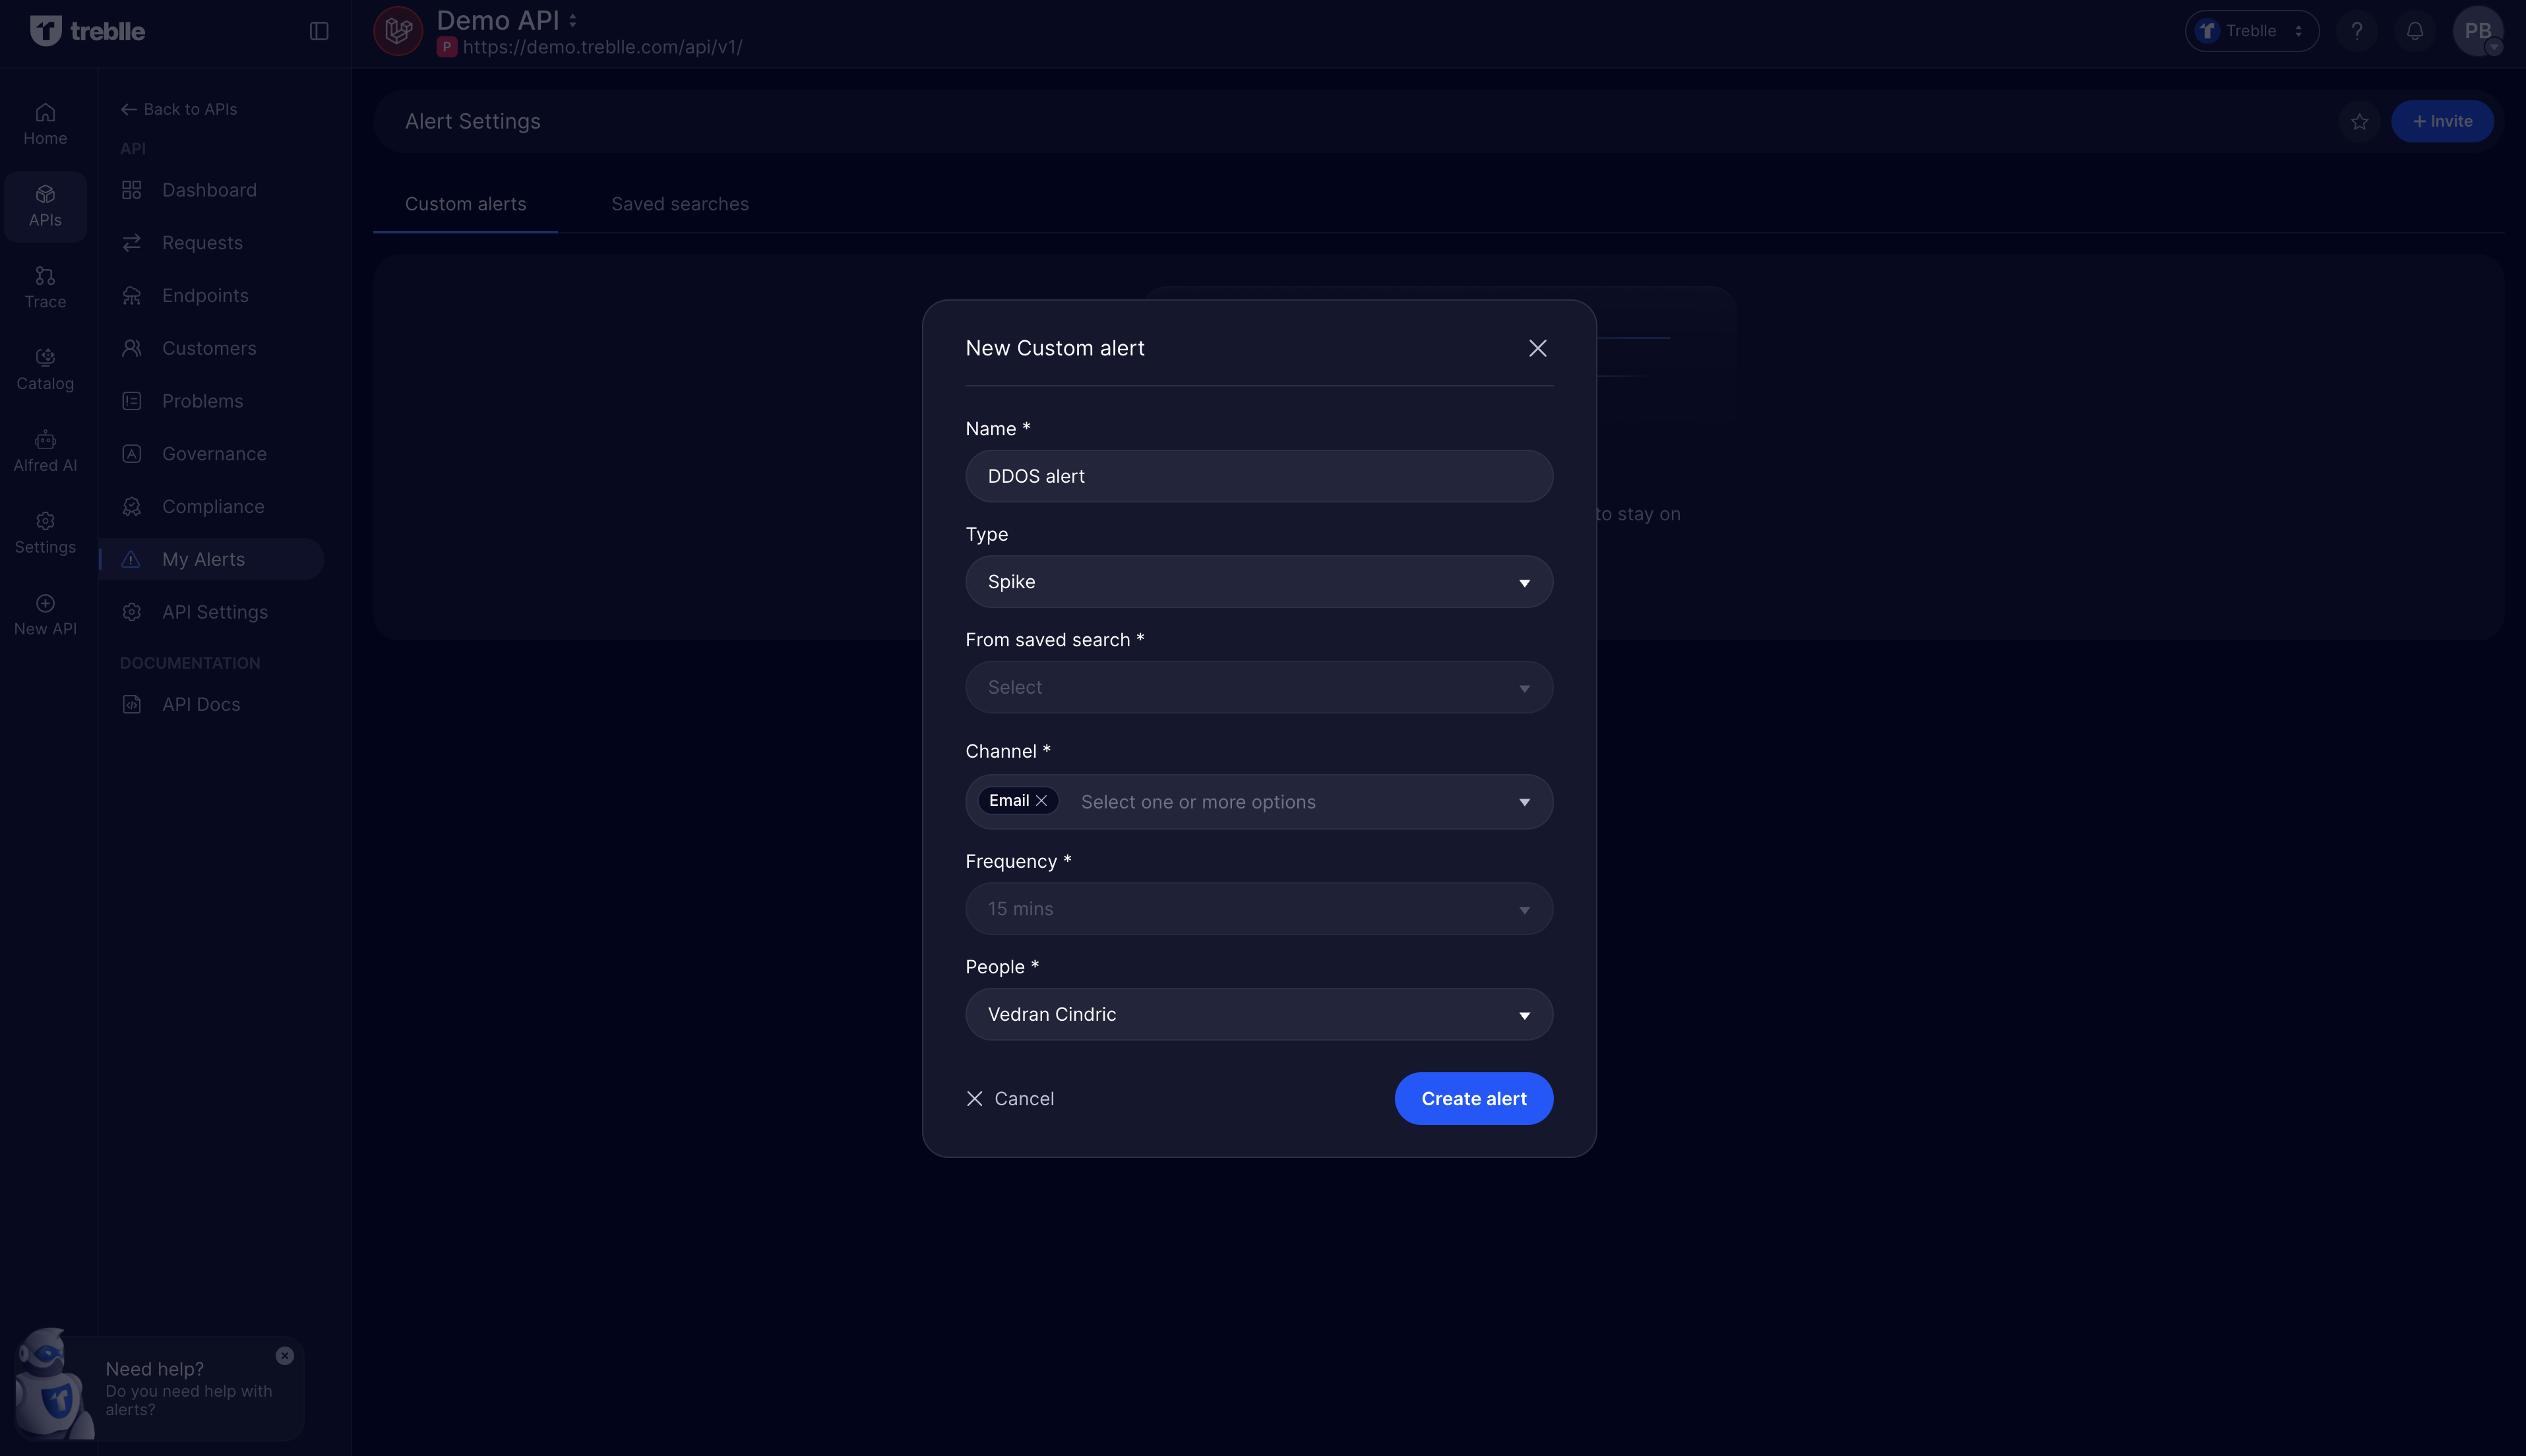
- Name: A descriptive name for your alert (e.g.,
DDOS Alert). - Type: Select
Spike. - Channel: Choose how you want to be notified.
- Frequency: Set how often Treblle should check for spikes.
- People: Select the team members who should receive the alert.
d. Configure a Saved Search Alert
A Saved Search alert notifies you when incoming requests match a set of pre-defined filters. This is useful for monitoring specific endpoints, error codes, or security threats.

- Name: A descriptive name for your alert (e.g.,
High-threat requests). - Type: Select
Saved Search. - From saved search: Select the one you created earlier (e.g.,
High threat level requests). - Channel: Choose your preferred notification channel.
- Frequency: Set how often to check for matching requests.
- People: Select the recipients for the alert.
e. Choose notification channels:
- You can be notified via Email, Slack, or In-app notifications.
- For Slack, you’ll need to add a webhook URL in your API settings.
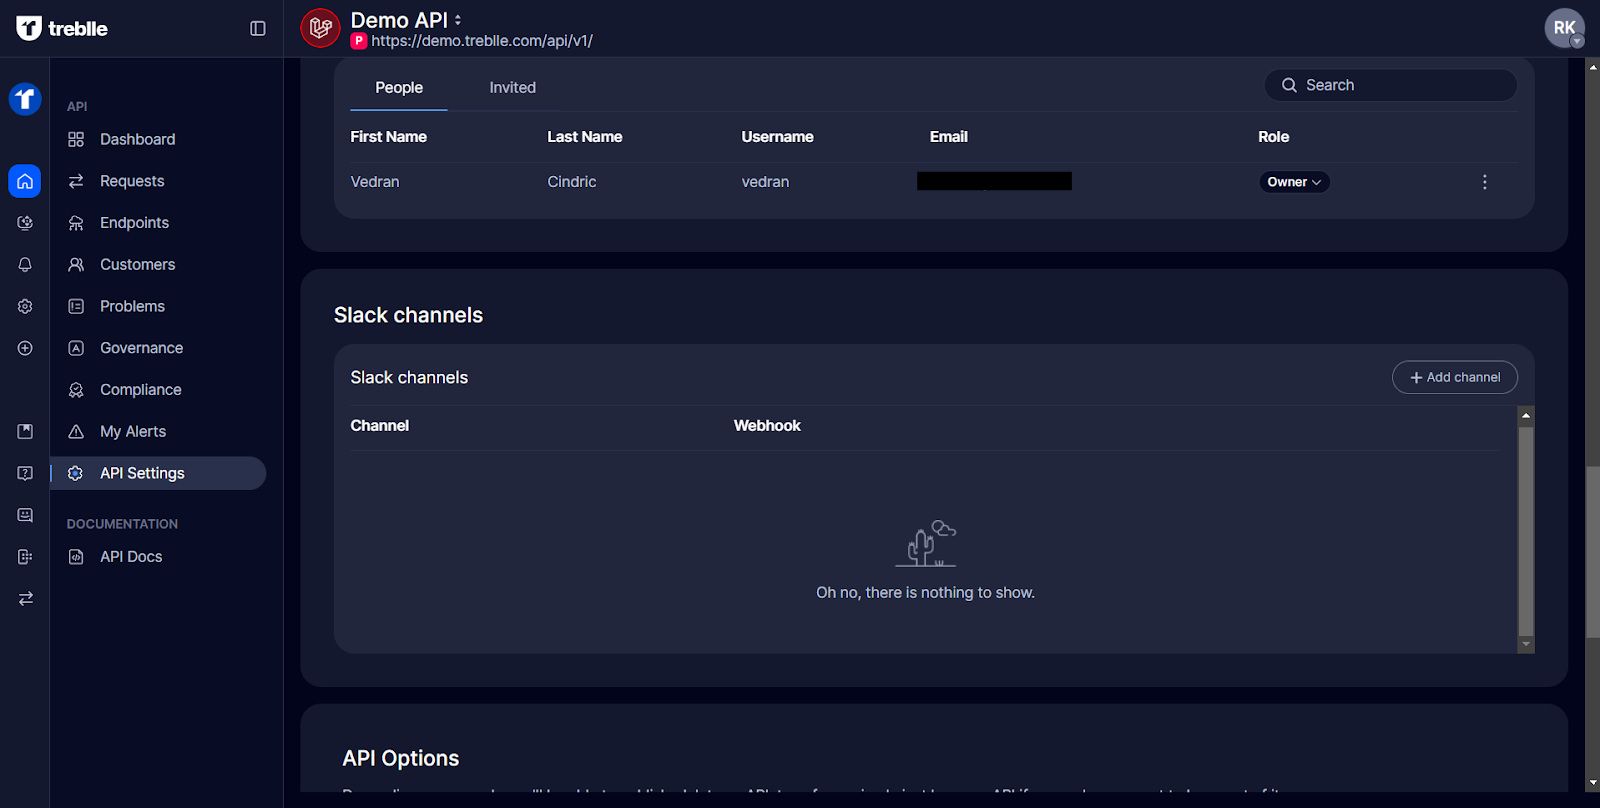
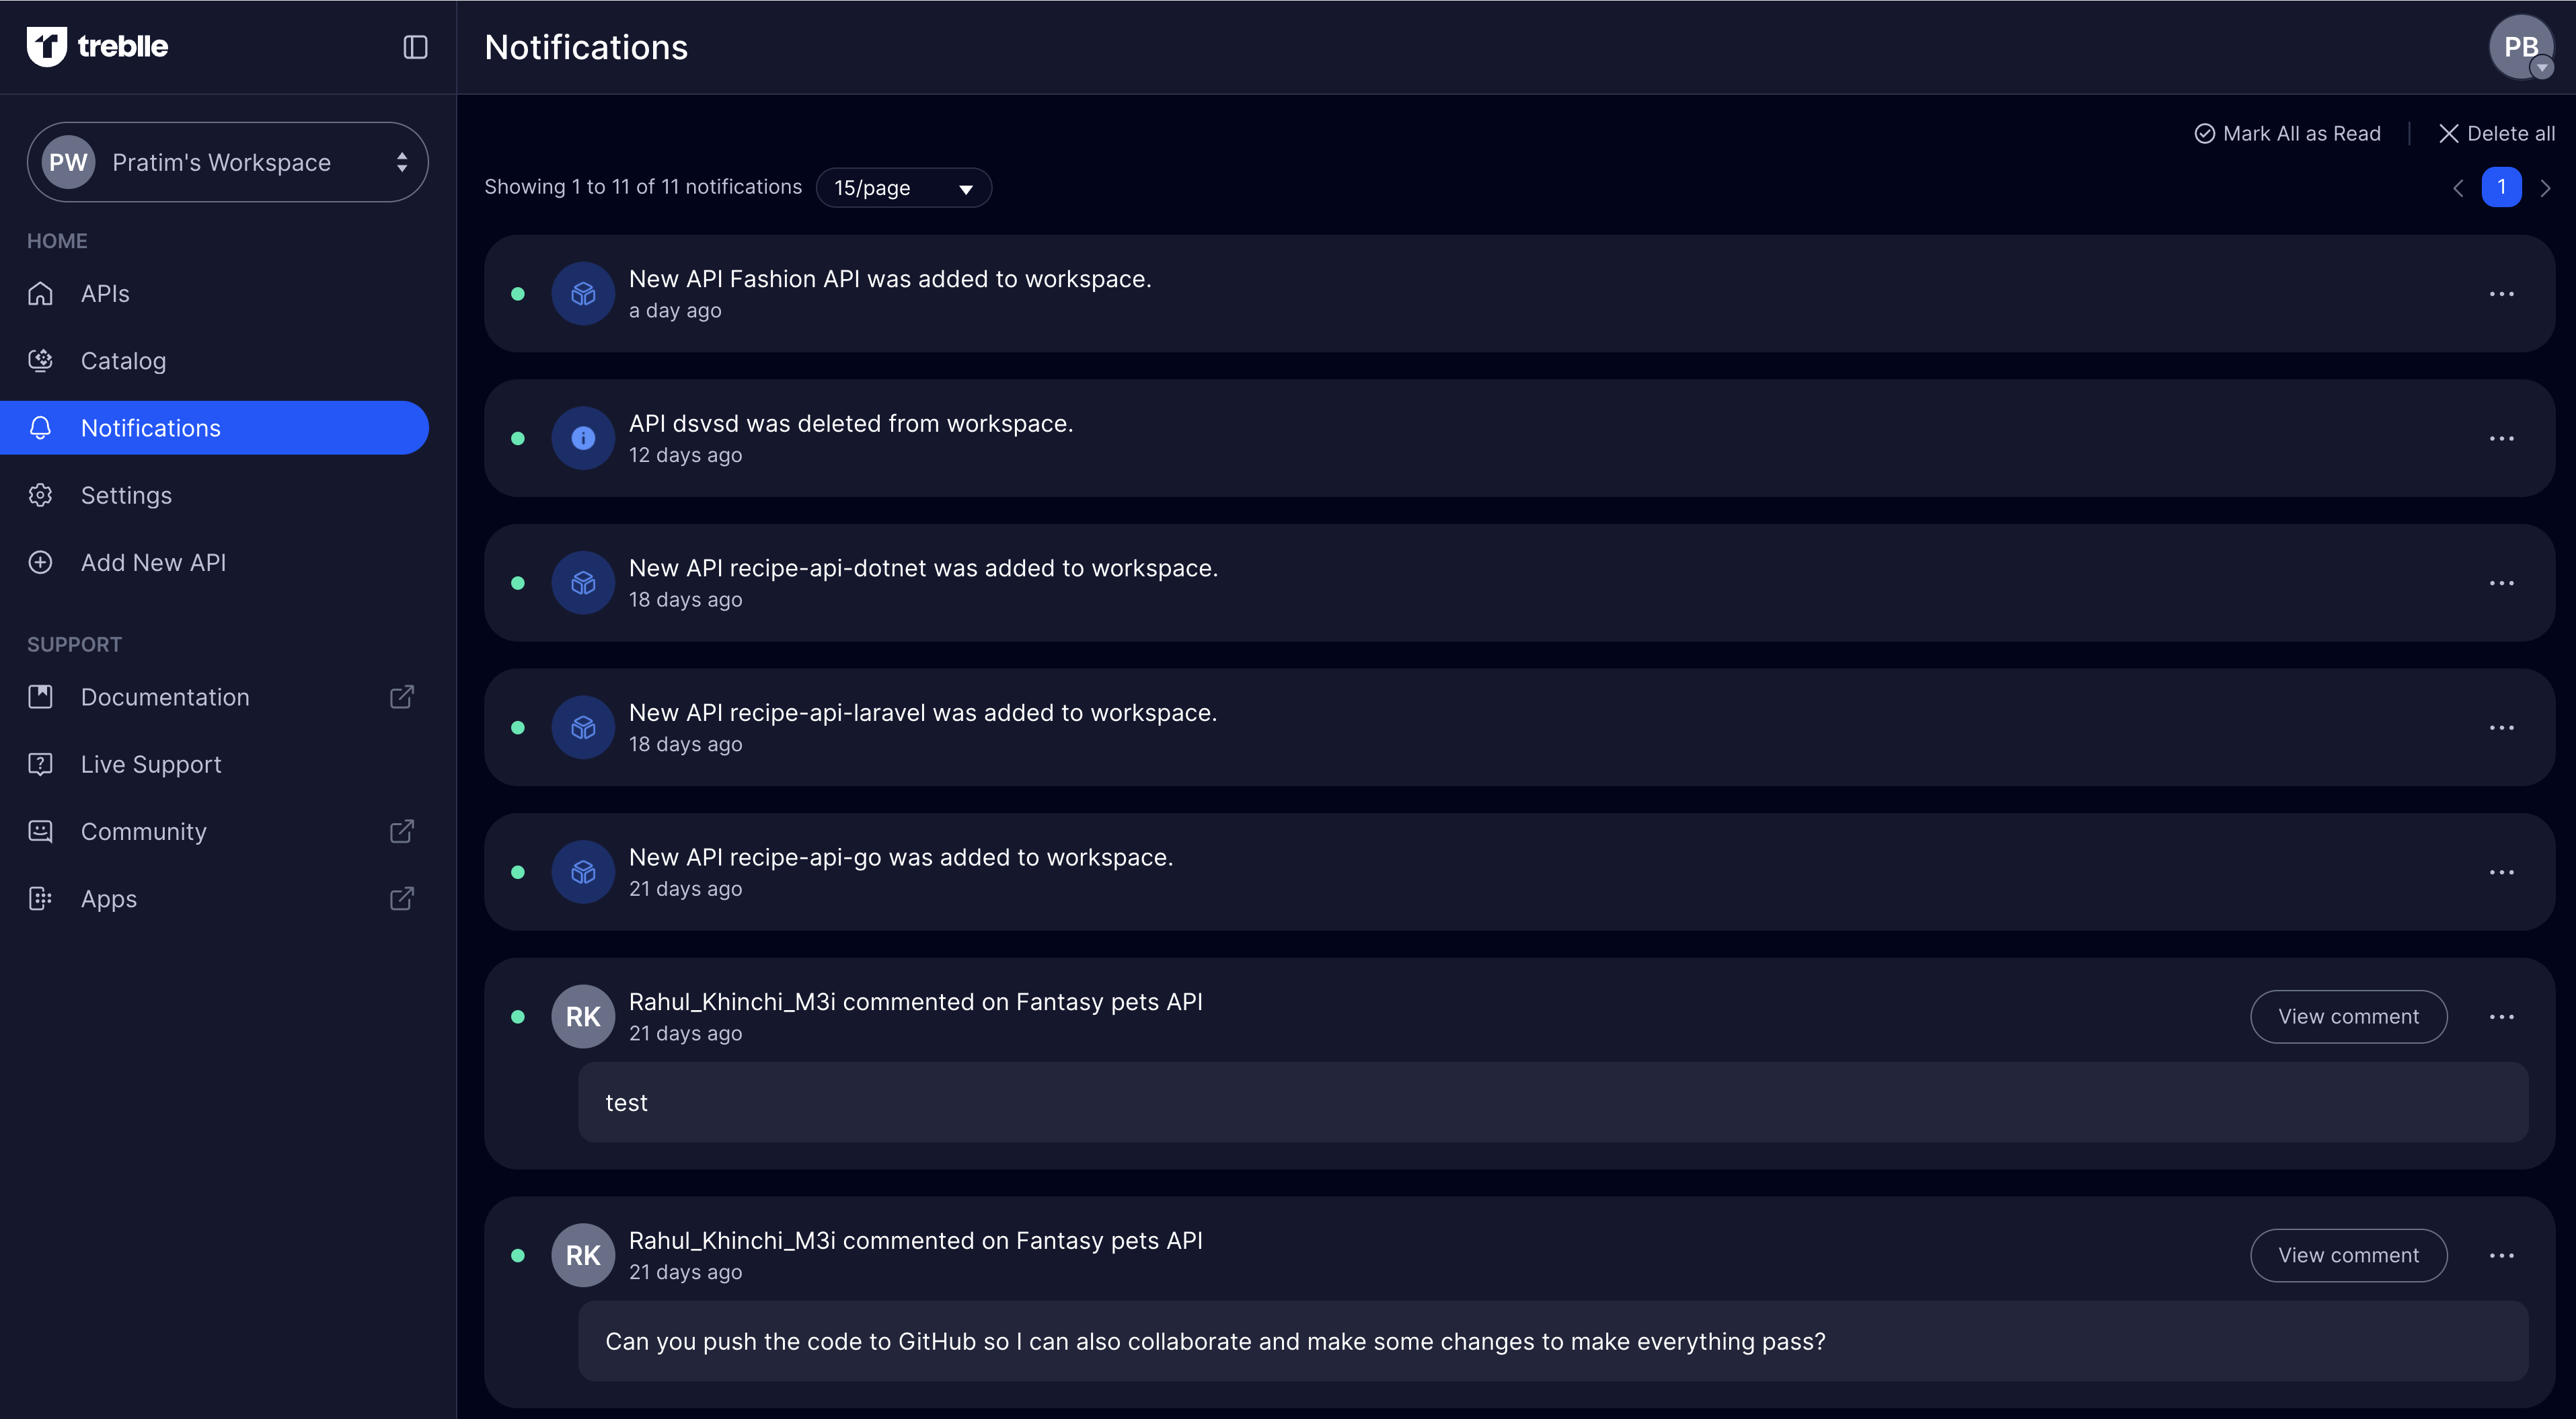
- In-app notifications will appear in the notifications section of the dashboard.
